

How to Install a Tabletop Wash Basin: Steps & Tips 2026
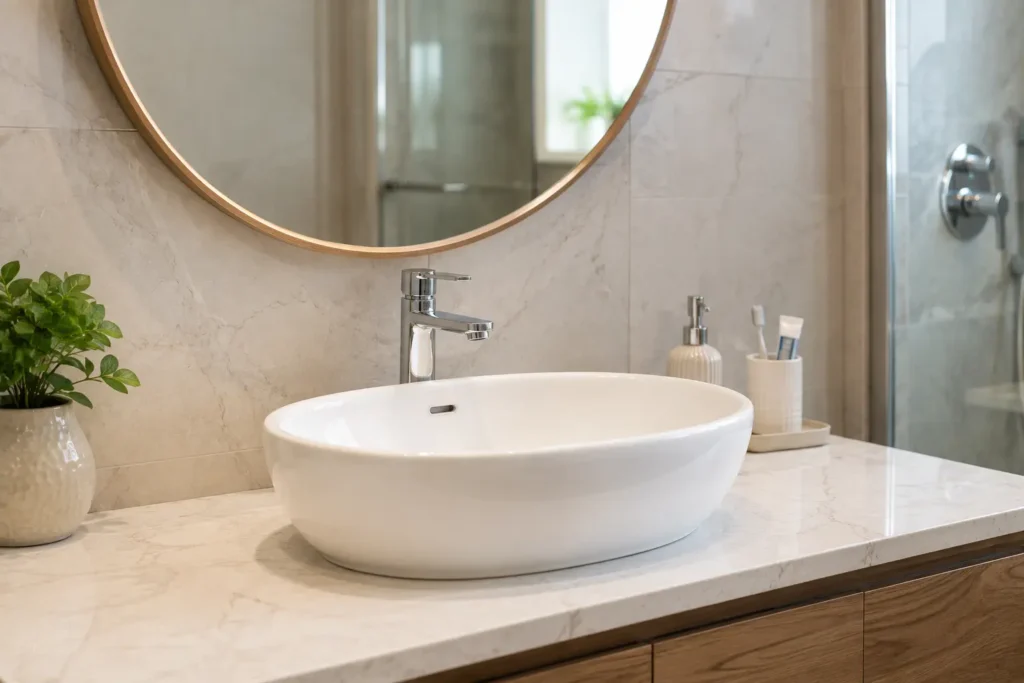
A tabletop wash basin looks simple to fit. But most leaks, wobbly basins, and splash problems in Indian bathrooms trace back to a few avoidable mistakes. Get the height right, pick the correct waste coupling and trap, and seal it properly, and the basin will serve you for years. To install a table top wash basin, work out your counter height based on the basin’s own height, mark the drain position, cut the counter as per the manufacturer’s template, fit the tap, fit the waste coupling, apply sealant, place and level the basin, connect the trap and water lines, test for leaks, and let the sealant cure for about 24 hours before use. This guide covers what to check before you start, the tools you need, the full process, how to pick the right waste and trap, common mistakes, and cost in India. What is a Table Top Wash Basin A table top wash basin sits on top of a counter or vanity instead of being built into the wall or under the counter. It looks like a bowl placed on a table, which is where the name comes from. You will also see it called a countertop basin or a vessel basin. This style is popular in Indian homes because it gives a clean, hotel-like look and frees up storage space below the counter. It is also easier to replace later than a wall-hung basin if you want to change your bathroom design. Planning the Right Height for Your Wash Basin Before Installation Since the basin sits above the counter, the finished rim ends up taller than the counter itself. Build the counter at the same height as a normal vanity, and the basin may sit too high for comfort. Use this Simple Method: Counter height equals your target rim height minus the basin’s own height. For example, if you want a certain rim height and know how much the basin adds on top of the counter, subtract that basin height to get your counter height. The exact basin height varies by model, so always check the product’s spec sheet before fixing your counter height. This one check prevents most comfort complaints later. Things to Check Before You Start Installing Counter Wash Basin Tools and Materials You Need A Note on Sealant: Neutral-cure silicone is the safer choice for bathrooms, since it will not corrode metal fittings or discolour natural stone the way some acid-cure sealants can. Acid-cure types bond well to plain ceramic and glass but are best avoided near stone counters and metal fixtures. Steps to Install a Tabletop Wash Basin Step 1: Turn off the water supply at the isolation valves before touching any pipework. Step 2: Mark the position. Decide where the basin sits and mark the centre line, leaving enough space on both sides for comfortable use. Step 3: Cut the hole, if needed, using the manufacturer’s template. Go slow, especially on stone. Step 4: Dry-fit the basin to check alignment with the waste outlet. Step 5: Fit the tap first. It is easier to tighten from below before the basin is in place. Step 6: Fit the waste coupling. Place the gasket and tighten it into the drain hole. Most Indian basins use a 32mm waste coupling, but check your basin’s spec sheet to confirm. Step 7: Apply sealant. Run a smooth, even bead of neutral-cure silicone where the basin meets the counter. A thin, even line seals as well as a thick one and looks neater. Step 8: Place and level the basin, checking with the spirit level. Step 9: Connect the trap, keeping it straight and aligned with the wall drain, not angled. Step 10: Connect the water supply with flexible hoses, then turn the water on slowly and check every joint for drips. Step 11: Let the sealant cure, usually around 24 hours, though this varies by product. Avoid heavy use until then. Choosing the Right Waste Coupling, Trap, and Tap Waste Coupling Check for a small overflow hole near the basin’s top rim. If it has one, use a slotted waste coupling, which lets overflow water drain safely. If there is no overflow hole, use an unslotted waste coupling. Fitting the wrong type can cause leaks or make the overflow useless. Trap Type A bottle trap is common with table top basins in India, since it looks neat where plumbing is visible and takes less space. If your drain line is concealed inside a vanity or wall, a P-trap works just as well and can be easier to clean. What matters most is that the trap sits straight, holds water to block drain smells, and stays accessible for cleaning. Tap Choice A tall body basin mixer or wall-mounted spout usually suits a table top basin better than a short tap, since a short tap may not reach the bowl’s centre and can cause splashing. A tap set too high above a shallow basin causes the same problem. Check the spout’s height and reach against your basin’s depth before buying. Common Mistakes to Avoid DIY or Call a Plumber If your plumbing points are ready and the cut-out is done, installing the basin yourself is manageable with basic tools and patience. Many homeowners in India do this successfully. Hire a professional if you are cutting a stone counter, setting up new plumbing lines, or fitting the vanity and basin together for the first time. A mistake with stone cutting can be costly to fix. Troubleshooting and Maintenance Tips If something is not working right after installation, use this table to find the likely cause. Problem Likely Cause Basin feels wobbly Sealant has not cured, or the basin was not levelled before it set. Water splashes outside the bowl Tap’s spout height or reach does not match the basin’s depth. Slow drainage Trap is blocked, or the waste coupling is the wrong size. Bad smell from the drain Trap is not holding water properly. Leak under the basin Sealant line