

How to Install a Grab Rail: A Complete Step-by-Step Guide
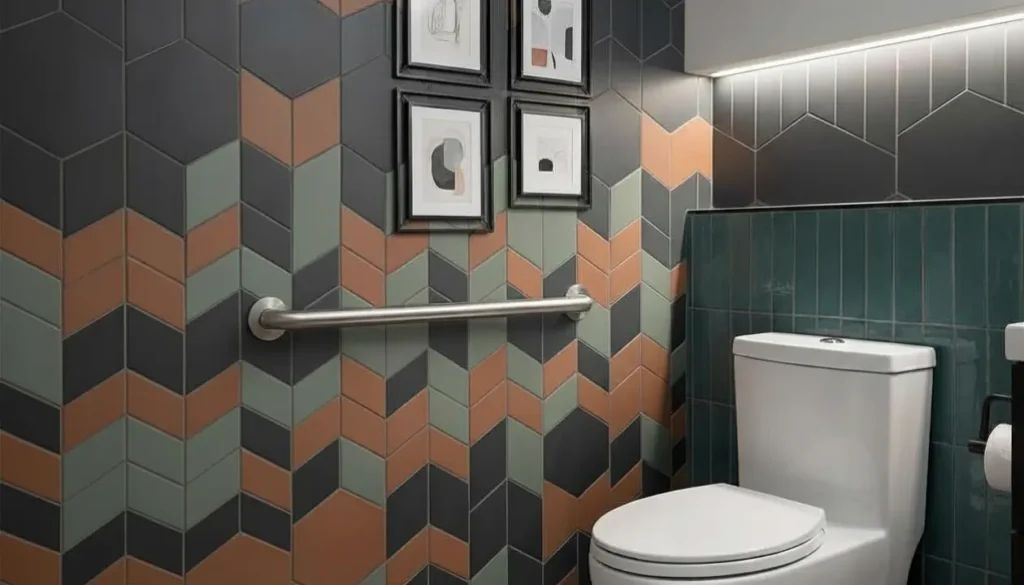
A wet floor. A missed step. One fall can change how a person moves through their own home for good. For families with elderly or disabled members, that risk lives in the bathroom every single day. A correctly installed grab rail fixes this. Fit one at 33 to 36 inches from the floor, secure it into a wall stud or a load-rated anchor, and make sure it can hold at least 100 kg — check the manufacturer’s exact rating, since many rails go higher. This guide walks through exactly how to install one, step by step, along with placement rules, tools, and Indian pricing. What Tools You’ll Need Before You Start Gather everything first. A mid-installation trip to the hardware store is avoidable. How to Install a Grab Rail: Step-by-Step Step 1: Assess the User’s Needs First Don’t buy a rail and figure out placement afterward. Walk through the bathroom with the person who’ll use it and note where they struggle most — standing from the toilet, stepping over the bath edge, balancing in the shower. This decides where every rail goes. Height, grip strength, and whether they use a walking aid all affect which rail diameter and surface texture work best. Step 2: Mark Your Fixing Points Hold the rail in position and mark each screw hole with a pencil. Check the position with the user standing in place before moving on — it’s easier to erase a pencil mark than fill a drilled hole. Step 3: Scan for Pipes and Wires Run a pipe and cable detector over every mark. This takes under a minute and prevents a burst pipe or an electric shock. Step 4: Find a Stud, or Choose the Right Anchor A stud finder tells you what’s behind the wall. Screwing into solid timber gives the strongest hold. If there’s no stud in range, use cavity anchors rated for load-bearing use. Note: Standard wall plugs will not hold under real body weight. Step 5: Match the Drill Bit to Your Wall Tile needs a tile bit, started slowly to avoid cracking the glaze. Brick or plaster needs a masonry bit. Timber takes a standard wood bit. Step 6: Drill the Holes Go slow, especially on tile. Wrap tape around the bit at the correct depth so you don’t drill past what the plug needs. Step 7: Insert wall plugs, if needed Tap them flush with the surface. Skip this step only if you’re screwing straight into a timber stud — plugs reduce grip there instead of adding it. Step 8: Fix the rail to the wall Start each screw by hand, then tighten gradually, moving between screws rather than finishing one at a time. This keeps the mounting plate flat and even. Step 9: Check the level Rest a spirit level along the rail. Even a small tilt affects grip comfort and confidence — adjust before moving on. Step 10: Load test it Push down and outward on the rail with real force, the kind someone would apply mid-slip. There should be no movement, flex, or creaking. If anything feels loose, remove the rail and check the fixings again. A single rail usually takes 30 to 45 minutes once your tools and fixings are ready. Add extra time if you need to locate studs or work around tile. Where to Place a Grab Rail: Exact Measurements Placement follows the movements that put a person most at risk: sitting, standing, and stepping over wet surfaces. Choosing the Right Type of Grab Rail Type Best For Notes Fixed/permanent rail Daily, long-term use Bolts into the wall; strongest and most stable option Folding rail Shared or small bathrooms Folds flat against the wall when not needed Suction cup rail Travel, short-term use Easy to move, but not rated for full body weight Vertical rail Pushing up to stand Common near the toilet and bath entry Horizontal rail Side-to-side balance Common in the shower area Angled rail (45°) Getting in and out of a bathtub Combines both push and balance support Stainless steel (SS 304 grade) is the standard material for Indian bathrooms because it resists rust in humid conditions. Chrome-plated and PVC-coated grab bars also exist, but steel lasts longer in wet, high-use spaces. Grab Rail Prices in India Prices vary by material, finish, and load rating. As a general guide: Rail Type Approximate Price Range (₹) Suction cup rail 400 – 1,200 Folding rail 1,200 – 3,500 Fixed stainless steel rail 800 – 2,500 Angled bathtub rail 1,500 – 4,000 Heavy-duty adhesive/tenant-friendly rail 1,000 – 3,000 These are approximate street and online retail ranges — always confirm current pricing with the supplier, and don’t choose on price alone. Compare the load rating and finish (satin vs. polished) first. Common Mistakes That Cause Rail Failure Popular Grab Rail Brands in India Cera: Mid-range stainless steel rails, widely stocked Signxpress India: SS 304 grade rails in straight, L-shaped, and swing designs Begin Faucets: Bathroom fittings and accessories, including grab bars, for home and commercial use Ruhe: stainless steel and brass rails sold directly by an Indian manufacturer Ess Ess, Ruwido, and Ken: Grab rails available through hardware and sanitaryware dealers Final Thoughts Installing a grab rail correctly is a small job with a big outcome — it gives someone back their independence in the room where falls happen most. Take the extra ten minutes for stud checks, load tests, and the right anchors. It’s the difference between a grab bar that looks secure and one that actually is. If any part of this feels outside your comfort zone, call a professional installer. There’s no downside to getting it checked. Frequently Asked Questions How Much Weight Should a Bathroom Grab Rail Hold? Most quality rails are rated for 100–150 kg. For an elderly or heavier user, check the manufacturer’s exact weight rating before buying — don’t assume a lower-end rail will be strong enough. Can I Install a Grab Rail on Plasterboard or Drywall? Yes, but only with cavity