

How to Install a Health Faucet: Step-by-Step Guide
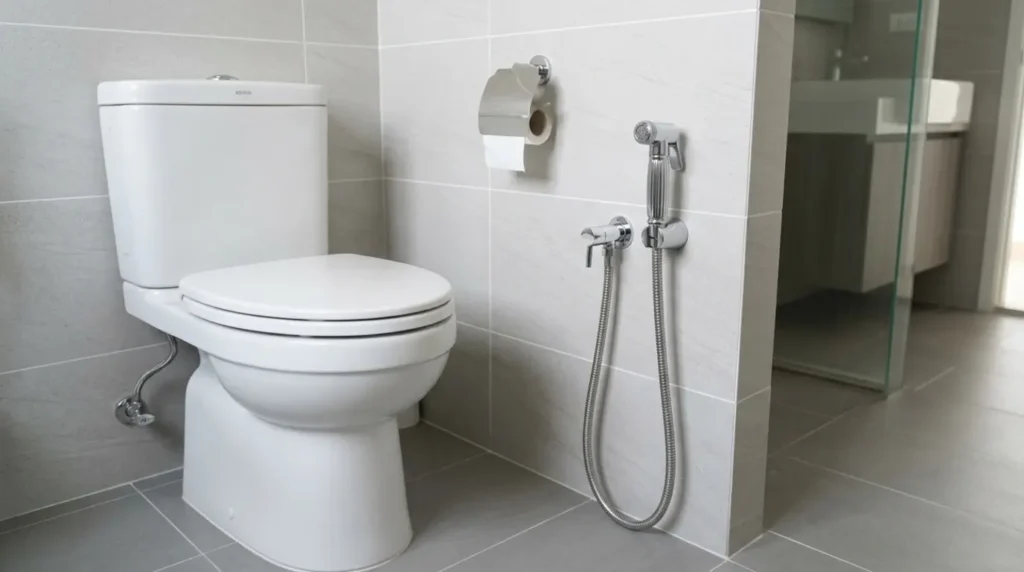
Health faucets are now a standard fixture in most Indian bathrooms — in homes, offices, and even budget hotels. The good news is that they work with both Indian-style floor-mounted pans and Western-style wall-mounted commodes, so you do not need to worry about compatibility. Most Indian bathrooms already have a 15mm water inlet near the toilet, which is exactly what a health faucet needs. So no major plumbing work is required. A standard health faucet fits any toilet type. You only need basic tools, and no professional plumber is needed for a normal installation. Most faucets come in a 1.2-metre hose length, which works for most setups. The whole job takes around 30 minutes. This guide walks you through every step of the installation from gathering tools to testing the final connection. Check Your Bathroom Setup Before Installation Before you buy anything, spend two minutes looking at your bathroom. This saves you an extra trip to the hardware store. Western-Style (Wall-Mounted Commode) Indian-Style (Floor-Mounted Pan) Quick Compatibility Checklist Standard Indian plumbing uses 1/2-inch BSP (15mm) threads, and almost every health faucet sold in India is built to match this size, but confirm before buying. Health Faucet Sizes and Prices in India All standard health faucets in India use a 1/2-inch BSP (15mm) connection, so they fit directly onto Indian plumbing without any adapters. Picking the right hose length matters more than most people think. Common Hose Lengths Price Guide by Material Material Price Range (INR) Best For ABS Plastic ₹150 – ₹400 Tight budgets, rental homes PTMT ₹400 – ₹900 Mid-range, rust-free daily use Stainless Steel ₹700 – ₹1,500 Durability, hard water areas Brass ₹1,200 – ₹3,000 Long-term use, premium finish Buying Tip: PTMT works well for most homes; it does not rust, handles daily use easily, and costs far less than brass or steel. Tools and Materials You Need Gather everything before you start. This keeps the job clean and fast. Tools Materials / Kit Components Most Indian health faucet kits already include all the materials listed above, so check your kit box before buying anything separately. How to Install a Health Faucet Step-by-Step These steps work for most Indian bathrooms. Take it one step at a time, and you will finish in about 30 minutes. Step 1: Turn Off the Water Supply Look for the angle valve sitting behind or just beside your toilet — it is a small tap-like knob. Turn it clockwise until it stops. No angle valve? Go shut the main bathroom water line instead. After closing it, flush the toilet once. That push clears out the water still sitting in the pipe, so it does not spray on you when you open the joint. Step 2: Remove the Existing Water Connection The inlet pipe runs from the angle valve up into the bottom of your flush tank. Loosen the nut where it meets the tank, but hold the tank fitting steady with your other hand. Do not let it spin; it can crack the tank inlet. Pull the pipe away and set it aside. Tuck a dry cloth under the joint right away because some water will still drip out. Tip: Before you remove anything, take a quick photo with your phone. When you are putting it all back together, that photo saves a lot of guessing. Step 3: Apply PTFE Tape on Threads Pick up the PTFE tape and wrap it around the male thread going clockwise — the same direction you will screw the fitting in. Pull the tape tight as you wrap. Go around three to four times. One loose round of tape does nothing. Do this on every single threaded joint in this job, not just one or two. That tape is what keeps slow drips from showing up three days later. Step 4: Install the T-Valve The T-valve goes where your old inlet pipe used to connect at the outlet of the angle valve. It has three openings. One sits on the angle valve, one feeds the flush tank, and the last one takes the health faucet hose. Start screwing it on by hand until it feels snug. Then use the wrench for one firm quarter-turn. Tip: Stop at one-quarter turn with the wrench. Tightening beyond that can split a plastic T-valve or damage the thread on the angle valve. Step 5: Connect the Hose Before you thread the hose connector onto anything, peek inside the connector and check that the small rubber washer is sitting flat inside it. If that washer is missing or tilted, water will drip no matter how tight you go. Screw one end onto the T-valve and the other onto the spray gun. Hand-tighten both ends first, then add a quarter-turn with the wrench. That is all it needs. Step 6: Attach the Spray Gun Hold the spray gun with one hand, then slowly bring the hose connector up to it. Before you begin turning, make sure the threads line up neatly. If the connector feels stiff right from the first turn, stop — it is cross-threading. Back it off and start again. Once it turns smoothly, hand-tighten it fully. Add one quarter-turn with the wrench at the end, then give the gun a light tug to check that it holds firm. Step 7: Install the Holder Bracket The bracket goes on the wall at around 90 to 100 cm from the floor. That height feels natural for most adults standing at the toilet. Put it on the wall closest to your stronger hand, about 15 to 20 cm away from the toilet edge. Use a pencil to mark your drill points before you start. When drilling into tiles, go slow with a tile bit and steady pressure — rushing cracks the tile. Tip: Not comfortable drilling into tiles? A strong adhesive hook rated for 2 kg or more works as a solid temporary fix until you are ready. Step 8: Turn On the Water Supply and Test Open the angle valve slowly;