

How to Change a Shower Arm: Step-by-Step Guide
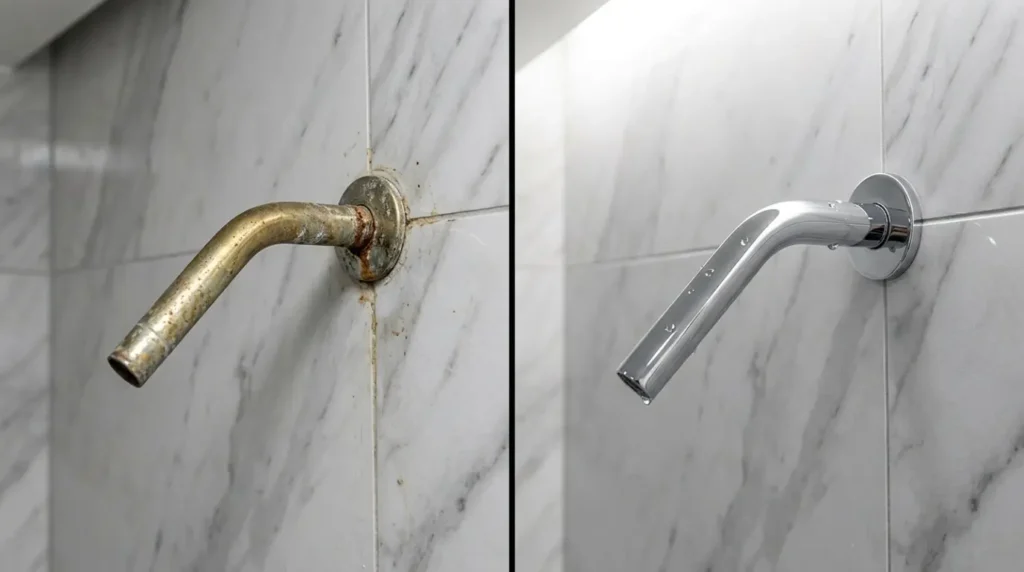
Replacing a shower arm is usually a 30-60 minute DIY job as long as the threads are clean and undamaged. A shower arm is the short pipe that connects your showerhead to the wall plumbing behind the tiles. People tackle shower arm replacement for different reasons. You might have a leaking shower arm dripping near the wall, a visibly corroded pipe, or simply want to upgrade to a rain shower head. Sometimes it’s just a cosmetic update, a chrome finish that’s gone dull. Before you buy anything, check your fittings. Most Indian homes use a 1/2-inch BSP fitting, but some imported fixtures use NPT or metric threads. These look nearly identical but won’t seal correctly if mixed. Here’s one warning worth remembering: wrong thread sealing causes most post-installation leaks on any wall-mounted shower arm. PTFE tape is strongly recommended for threaded shower-arm joints. Finally, shut your isolating valve before starting. If you don’t have one, keep a bucket and old towels close by. Tools and Materials You Need Before Starting Gathering everything before you start means you won’t be hunting for a wrench with water dripping on your floor. What You’ll Need Optional But Useful Caution: Metal wrench jaws and chrome finishes do not get along. Always wrap a cloth around the arm first; bare jaws leave scratches that rust quickly in hard water conditions. Important Checks Before You Remove the Old Shower Arm Rushing straight to removal is how small jobs turn into big ones. Take five minutes here and save yourself a lot of trouble later. Check the Thread Size and Compatibility Most Indian homes use a 1/2-inch BSP (British Standard Pipe) fitting where the shower arm meets the wall. To confirm yours, check the product spec sheet that came with your existing shower arm. No spec sheet? Take your old arm to a local hardware store and compare it physically against a known 1/2-inch BSP fitting. One thing to watch: BSP and NPT threads look almost identical side by side. But they have different thread angles — BSP uses 55 degrees, NPT uses 60 degrees, and this difference alone is enough to prevent a reliable seal, even though both share the same 14 threads per inch. Identify the Type of Shower Arm You Have Shower arms come in a few common styles — straight, curved, wall-mounted, and ceiling-mounted. Most Indian bathrooms use a standard straight shower arm or a gently curved shower arm that angles the head downward. Switching to a rain shower arm that drops from the ceiling is a different matter entirely. That usually means rerouting pipework inside the wall — a job for a plumber, not a weekend DIY session. Measure the Length and Projection Measure from the wall surface to the centre of your showerhead connection point. Use that number to pick the right replacement. Common Length Metric Equivalent Best For 6 inches 150 mm Small shower spaces 9 inches 225 mm Standard bathrooms 12 inches 300 mm Larger enclosures 15 inches 375 mm Rain shower heads Getting the shower arm length wrong means your showerhead either sits too close to the wall or sticks out awkwardly into the spray zone. Look for Corrosion or Old Sealant Before removing anything, shine a torch around the flange, the decorative plate sitting flush against your wall. Look for rust patches, flaking chrome, or layers of hardened old tape sitting on the exposed threads. A corroded shower arm usually comes off fine. But if you spot damaged threads inside the wall elbow itself, stop. A rusted shower fitting deep in the wall may need the tiles opened up to fix properly. At that point, consider a licensed plumber rather than pushing forward alone. How to Change a Shower Arm: Step-by-Step Work through each step in order. Skipping ahead is how small mistakes turn into bigger ones. Step 1: Remove the Shower Head Turn the shower head anticlockwise to loosen it. Keep a soft cloth wrapped around it so the finish stays scratch-free. If it won’t budge, spray a little penetrating oil around the joint and wait 10–15 minutes before trying again. Once it’s off, check the rubber washer inside; if it looks flat or cracked, swap it out now rather than later. Step 2: Slide Back the Escutcheon Plate Next, slide the escutcheon plate, the cover plate sitting against your wall tiles, back along the pipe to expose the entry point. If someone has sealed it with silicone, run a utility knife carefully around the edge first. Before moving on, take a close look at what’s behind it. Moisture, mould patches, or rust at this stage usually point to a slow, hidden leak that needs attention. Step 3: Unscrew the Old Shower Arm Wrap a cloth around the arm near the wall, grip it with your adjustable wrench, and turn anticlockwise. If the fitting feels seized, apply penetrating oil and give it ten minutes to work before you force anything. One thing to be careful about is never pushing hard against the wall tiles directly. Sudden pressure can crack grout lines or the tile itself. Step 4: Clean the Internal Threads Once the old arm is out, clear away every bit of old PTFE tape, limescale, and debris using a stiff brush or an old toothbrush. Always brush debris outward, away from the pipe opening. You don’t want grit falling into your wall plumbing. Look inside the wall elbow and check the inner threads for any damage or corrosion before going further. Step 5: Apply PTFE Tape the Right Way Hold the pipe end facing you and wrap the PTFE tape clockwise around the threads. Wrapping in this direction stops the tape from bunching up and unravelling as you screw the arm in. Two to four wraps are enough for a standard joint, or follow the tape manufacturer’s guidance if specified. Keep the tape off the very end of the pipe opening. If your fitting uses tapered BSPT threads, consider adding a small amount of