Replacing a shower arm is usually a 30-60 minute DIY job as long as the threads are clean and undamaged. A shower arm is the short pipe that connects your showerhead to the wall plumbing behind the tiles.
People tackle shower arm replacement for different reasons. You might have a leaking shower arm dripping near the wall, a visibly corroded pipe, or simply want to upgrade to a rain shower head. Sometimes it’s just a cosmetic update, a chrome finish that’s gone dull.
Before you buy anything, check your fittings. Most Indian homes use a 1/2-inch BSP fitting, but some imported fixtures use NPT or metric threads. These look nearly identical but won’t seal correctly if mixed.
Here’s one warning worth remembering: wrong thread sealing causes most post-installation leaks on any wall-mounted shower arm. PTFE tape is strongly recommended for threaded shower-arm joints.
Finally, shut your isolating valve before starting. If you don’t have one, keep a bucket and old towels close by.
Tools and Materials You Need Before Starting
Gathering everything before you start means you won’t be hunting for a wrench with water dripping on your floor.
What You’ll Need
- Adjustable wrench: Grips the old shower arm so you can twist it free.
- Soft cloth or jaw protectors: Sit between the wrench and the pipe surface.
- PTFE tape: Used for tapered BSP (BSPT) threads. If your fitting uses parallel BSP (BSPP) threads, it relies on an O-ring or washer for sealing. Instead, check your fitting type before applying tape.
- New shower arm: Must match your wall’s thread size exactly.
- Step stool: Keeps you steady and at the right height.
- Cleaning brush or old toothbrush: Scrubs old tape and gunk off the wall threads.
Optional But Useful
- Strap wrench: kinder to chrome than a metal adjustable wrench.
- WD-40 or similar penetrating oil: Helps shift a seized or corroded arm.
- Thread sealant paste: Some plumbers use this alongside plumber’s tape for extra security.
Caution: Metal wrench jaws and chrome finishes do not get along. Always wrap a cloth around the arm first; bare jaws leave scratches that rust quickly in hard water conditions.
Important Checks Before You Remove the Old Shower Arm
Rushing straight to removal is how small jobs turn into big ones. Take five minutes here and save yourself a lot of trouble later.
Check the Thread Size and Compatibility
Most Indian homes use a 1/2-inch BSP (British Standard Pipe) fitting where the shower arm meets the wall. To confirm yours, check the product spec sheet that came with your existing shower arm.
No spec sheet? Take your old arm to a local hardware store and compare it physically against a known 1/2-inch BSP fitting.
One thing to watch: BSP and NPT threads look almost identical side by side. But they have different thread angles — BSP uses 55 degrees, NPT uses 60 degrees, and this difference alone is enough to prevent a reliable seal, even though both share the same 14 threads per inch.
Identify the Type of Shower Arm You Have
Shower arms come in a few common styles — straight, curved, wall-mounted, and ceiling-mounted. Most Indian bathrooms use a standard straight shower arm or a gently curved shower arm that angles the head downward.
Switching to a rain shower arm that drops from the ceiling is a different matter entirely. That usually means rerouting pipework inside the wall — a job for a plumber, not a weekend DIY session.
Measure the Length and Projection
Measure from the wall surface to the centre of your showerhead connection point. Use that number to pick the right replacement.
| Common Length | Metric Equivalent | Best For |
| 6 inches | 150 mm | Small shower spaces |
| 9 inches | 225 mm | Standard bathrooms |
| 12 inches | 300 mm | Larger enclosures |
| 15 inches | 375 mm | Rain shower heads |
Getting the shower arm length wrong means your showerhead either sits too close to the wall or sticks out awkwardly into the spray zone.
Look for Corrosion or Old Sealant
Before removing anything, shine a torch around the flange, the decorative plate sitting flush against your wall. Look for rust patches, flaking chrome, or layers of hardened old tape sitting on the exposed threads.
A corroded shower arm usually comes off fine. But if you spot damaged threads inside the wall elbow itself, stop. A rusted shower fitting deep in the wall may need the tiles opened up to fix properly. At that point, consider a licensed plumber rather than pushing forward alone.
How to Change a Shower Arm: Step-by-Step
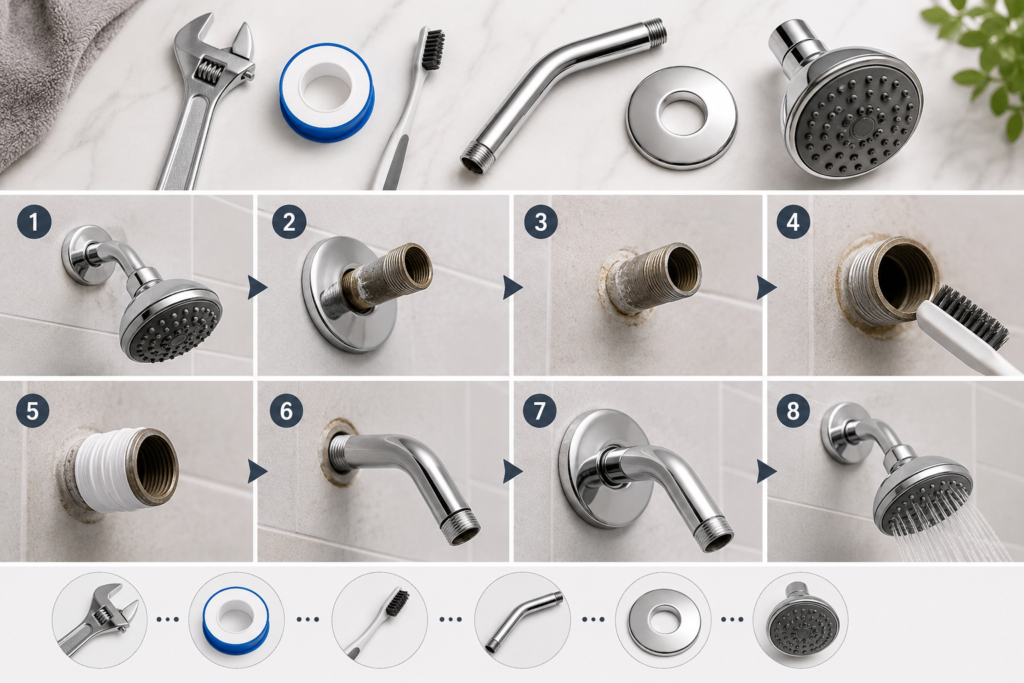
Work through each step in order. Skipping ahead is how small mistakes turn into bigger ones.
Step 1: Remove the Shower Head
Turn the shower head anticlockwise to loosen it. Keep a soft cloth wrapped around it so the finish stays scratch-free. If it won’t budge, spray a little penetrating oil around the joint and wait 10–15 minutes before trying again.
Once it’s off, check the rubber washer inside; if it looks flat or cracked, swap it out now rather than later.
Step 2: Slide Back the Escutcheon Plate
Next, slide the escutcheon plate, the cover plate sitting against your wall tiles, back along the pipe to expose the entry point.
If someone has sealed it with silicone, run a utility knife carefully around the edge first. Before moving on, take a close look at what’s behind it. Moisture, mould patches, or rust at this stage usually point to a slow, hidden leak that needs attention.
Step 3: Unscrew the Old Shower Arm
Wrap a cloth around the arm near the wall, grip it with your adjustable wrench, and turn anticlockwise. If the fitting feels seized, apply penetrating oil and give it ten minutes to work before you force anything.
One thing to be careful about is never pushing hard against the wall tiles directly. Sudden pressure can crack grout lines or the tile itself.
Step 4: Clean the Internal Threads
Once the old arm is out, clear away every bit of old PTFE tape, limescale, and debris using a stiff brush or an old toothbrush. Always brush debris outward, away from the pipe opening. You don’t want grit falling into your wall plumbing.
Look inside the wall elbow and check the inner threads for any damage or corrosion before going further.
Step 5: Apply PTFE Tape the Right Way
Hold the pipe end facing you and wrap the PTFE tape clockwise around the threads. Wrapping in this direction stops the tape from bunching up and unravelling as you screw the arm in.
Two to four wraps are enough for a standard joint, or follow the tape manufacturer’s guidance if specified. Keep the tape off the very end of the pipe opening.
If your fitting uses tapered BSPT threads, consider adding a small amount of thread sealant paste alongside the tape for a more reliable seal.
Step 6: Install the New Shower Arm
Thread the new arm in by hand first. Hand-threading lets you immediately feel whether the threads are aligning correctly — cross-threading at this point can cause real damage.
Once hand-tight, use your wrench for just a quarter to half a turn more. Position the arm so the escutcheon plate will sit flat and flush against the wall tiles once slid back into place.
Step 7: Reattach the Shower Head
Check the washer inside the connection of the shower head before screwing it back on. A worn washer is a guaranteed drip waiting to happen, so replace it if there’s any doubt.
Hand-tighten first, then add a small quarter-turn with a wrench if needed. Stop there; overtightening cracks fittings and chews up washers faster than anything else.
Step 8: Test for Leaks
Turn the water on and run both hot and cold through the shower. Watch the wall joint and the shower head connection closely for any drips or seeping. If you spot a small weep, tighten the fitting just one-eighth of a turn at a time.
A joint that keeps leaking after that usually means the PTFE tape wasn’t applied correctly. Remove the arm, reapply fresh tape, and reinstall.
Safety Tips
- Wear safety glasses if you’re spraying penetrating oil near face level.
- Place a bucket directly below the arm before you start so that leftover water inside the pipe will drip out the moment you loosen the fitting.
Common Mistakes That Cause a Shower Arm to Leak After Replacement
Most cases of a shower arm leaking from the wall come down to one of these six errors, and all of them are avoidable.
- Anticlockwise PTFE Tape Wrapping: The tape unravels the moment you screw the arm in, leaving the threads completely exposed. Always wrap clockwise when the thread end faces you.
- Too Many Tape Layers: A thick build-up stops the threads from engaging fully, which creates small gaps around the joint. Use about 2–4 wraps, or follow the tape manufacturer’s guidance for the fitting.
- Cross-Threading at the Start: Forcing a misaligned arm strips the threads immediately. Always hand-thread first so you can feel whether it’s sitting straight before applying any wrench pressure. Cross-threading plumbing joints is one of the harder mistakes to undo.
- Overtightening the Fitting: Extra force distorts threads and can crack brass or chrome fittings. Hand-tight plus a quarter-turn is enough.
- Mixing BSP and NPT threads: Both look nearly identical, but their thread angles differ just enough that a leaking threaded fitting is inevitable. Always confirm your thread standard before buying.
- Skipping the Wall Elbow Check: Damaged inner threads inside the wall cause persistent leaks that fresh tape alone will never fix. If the elbow threads look chewed or corroded, consider a plumber.
When to Call a Plumber Instead of Doing It Yourself
Changing a shower arm is genuinely manageable for most people, but a few situations make professional help the smarter call.
DIY is Fine When
- Your wall arm has visible, accessible threaded connections.
- You’re doing a simple swap from one wall-mounted arm to another.
- The inner elbow threads inside the wall look clean and undamaged.
Call a Plumber When
- Inner wall elbow threads are stripped, broken, or badly corroded.
- You spot a damp patch on the wall or ceiling — a sign of a concealed plumbing leak.
- You want to switch from a wall-mounted to a ceiling-mounted arm.
- Multiple fittings need shower fitting repair after your attempt.
A licensed plumber typically charges ₹500–₹1,500 for this job, depending on your city, with metro areas like Mumbai and Delhi sitting at the higher end.
Final Thoughts
Good thread prep and the right PTFE tape application make all the difference in any shower arm installation. For Indian hard water conditions, always pick brass or 316 stainless steel fittings; both resist scale buildup and corrosion far better than cheaper alternatives.
Ready to replace your shower arm? Pick up a 1/2-inch BSP replacement that matches your current length, and check out Begin Faucets’ shower arm collection for some solid options.
Grab a fresh roll of PTFE tape, follow each step carefully, and this bathroom fitting replacement is done well within the hour.
Frequently Asked Questions
Can I Change a Shower Arm Without Turning Off the Main Water Supply?
You can if your bathroom has an isolating valve on the shower line, just close that instead. Without one, shut the main supply. Working with live water pressure makes the job messy and harder to control.
How Often Should a Shower Arm Be Replaced?
A good brass or stainless steel arm lasts 8–15 years under normal use. In hard water areas across India, check every five years for scale buildup or corrosion around the wall joint.
Does the Shower Arm Affect Water Pressure?
A blocked or kinked arm can reduce flow noticeably. Hard water in your area will cause the pipe to slowly get smaller from the buildup of minerals inside the pipe, which will weaken your shower pressure over time.
Can I Use Silicone to Seal Threads Instead of PTFE Tape?
No. Silicone doesn’t bond reliably to metal threads under water pressure. It also makes future removal extremely difficult. Always use PTFE tape; it seals properly and comes off cleanly when needed.
Related Products
Explore products related to this article
-
 25%
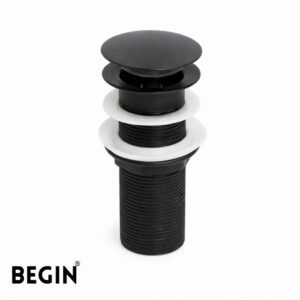
25%Pop-Up Brass Waste Coupling 5 Inch | Matte Black
Original price was: ₹950.00.₹715.00Current price is: ₹715.00. Add to cart -
25%
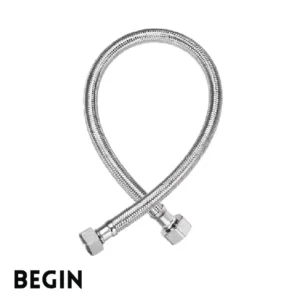
SS Connection Pipe 36 Inch | Stainless Steel | BEGIN
Original price was: ₹566.00.₹425.00Current price is: ₹425.00. Add to cart -
25%
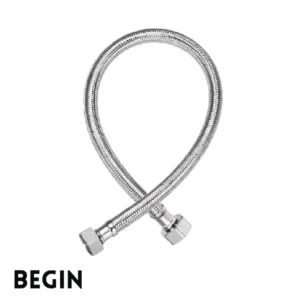
SS Connection Pipe 30 Inch | Stainless Steel
Original price was: ₹466.00.₹350.00Current price is: ₹350.00. Add to cart -
25%
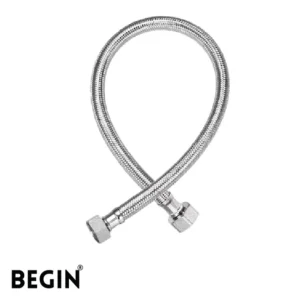
SS Connection Pipe 24 Inch | Stainless Steel
Original price was: ₹317.00.₹238.00Current price is: ₹238.00. Add to cart